<>
“`
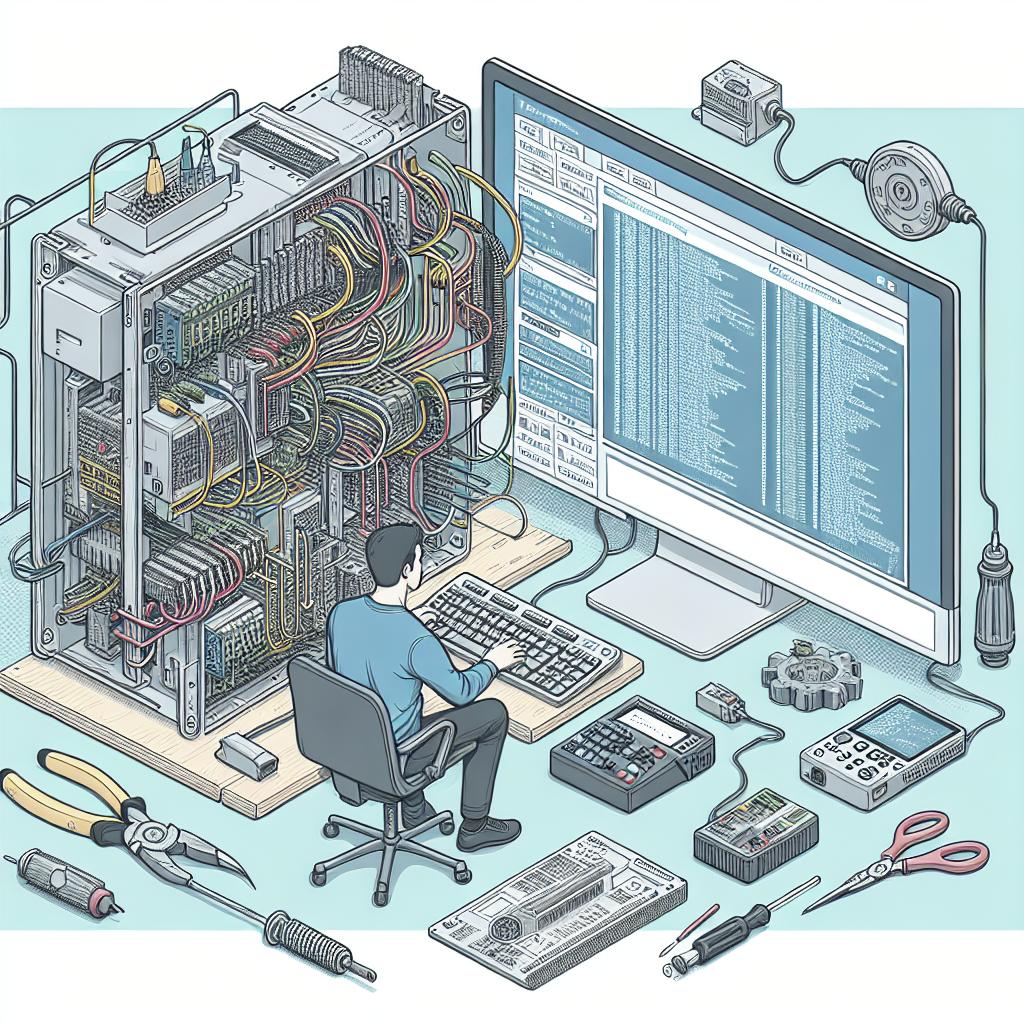
Programming a Mitsubishi Electric FX PLC (Programmable Logic Controller) may sound daunting, but with the proper guidance, it becomes a manageable task. This blog post aims to guide you through the process, starting from an introduction to Mitsubishi PLC programming, downloading the relevant software, and finally, how to back up your programs. We’ll provide clear, step-by-step instructions to help you get started, even if you are new to PLC programming. Furthermore, we’ll offer resources and recommended articles to help deepen your understanding and skills in this area.
How to Program Mitsubishi PLC
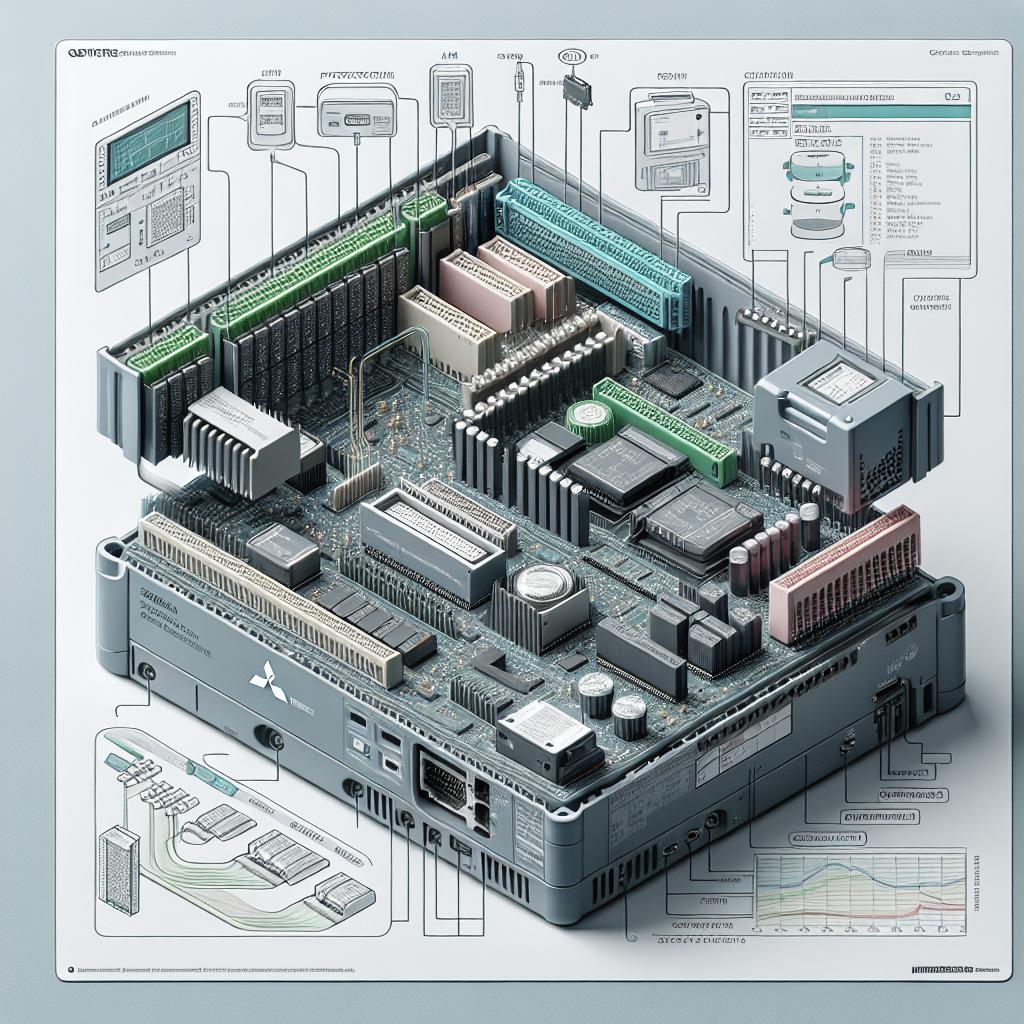
The first step to programming a Mitsubishi Electric FX PLC is to understand its functionality and architecture. Mitsubishi PLCs are known for their reliability and ease of use, making them ideal for a wide range of automation tasks. The fundamental language used for programming these PLCs is ladder logic, which mimics electrical relay logic diagrams. This makes it easier for those familiar with electrical systems to grasp PLC programming quickly.
To begin, you’ll need to install Mitsubishi’s software environment called GX Works2 or GX Developer. These tools provide a comprehensive interface to design, test, and deploy your ladder logic programs. Once installed, you can create a new project and define the PLC model you’ll be working with, ensuring all configurations are set appropriately. With your project set up, you can start drafting your ladder diagrams, adding inputs, outputs, and control elements to build your automation logic.
Mitsubishi PLC Programs Download
Downloading programs into your Mitsubishi PLC is a straightforward process, provided you follow the necessary steps. Begin by connecting your computer to the PLC via a USB or Ethernet cable. Once connected, ensure that your software (GX Works2 or GX Developer) is configured to communicate with the PLC. This step usually involves setting the correct COM port or IP address to match the PLC’s settings.
With communication established, open your project in the programming software and perform a thorough review to ensure there are no errors or issues. If everything checks out, select the option to transfer the program to the PLC. The software will upload the program to the PLC’s memory, enabling it to execute the commands you’ve defined. Always monitor the initial run to make sure the PLC behaves as expected and adjust your logic as needed.
How to Back up Mitsubishi PLC
Backing up your Mitsubishi PLC programs is a critical step to avoid losing your hard work due to unexpected failures or accidents. Fortunately, the process is quite simple with the right tools and precautions. Firstly, connect your PC to the PLC using the appropriate cable. Open the GX Works2 or GX Developer software and establish communication with the PLC by selecting the correct parameters.
Once connected, navigate through the software’s menus to find the backup or save function. Typically, this will involve reading the PLC’s memory and saving it to your computer’s hard drive. Ensure you store the backup files in a secure and easily accessible location. It’s also prudent to maintain version control by labeling your backups according to the date and version of the program.
Recommended Articles
Final Thoughts
| Section | Content Summary |
|---|---|
| How to Program Mitsubishi PLC | Introduction to Mitsubishi PLC programming, including basic concepts, software setup, and starting a new project with GX Works2 or GX Developer. |
| Mitsubishi PLC Programs Download | Instructions for downloading programs to the PLC, including connecting the PLC to a computer, checking configurations, and transferring the program. |
| How to Back up Mitsubishi PLC | Steps for backing up PLC programs, connecting the PLC to a PC, and saving the PLC’s memory to a local drive for safekeeping. |
| Recommended Articles | Links to additional resources and articles on programming basics, troubleshooting tips, and advanced techniques in PLC programming. |
“`


